
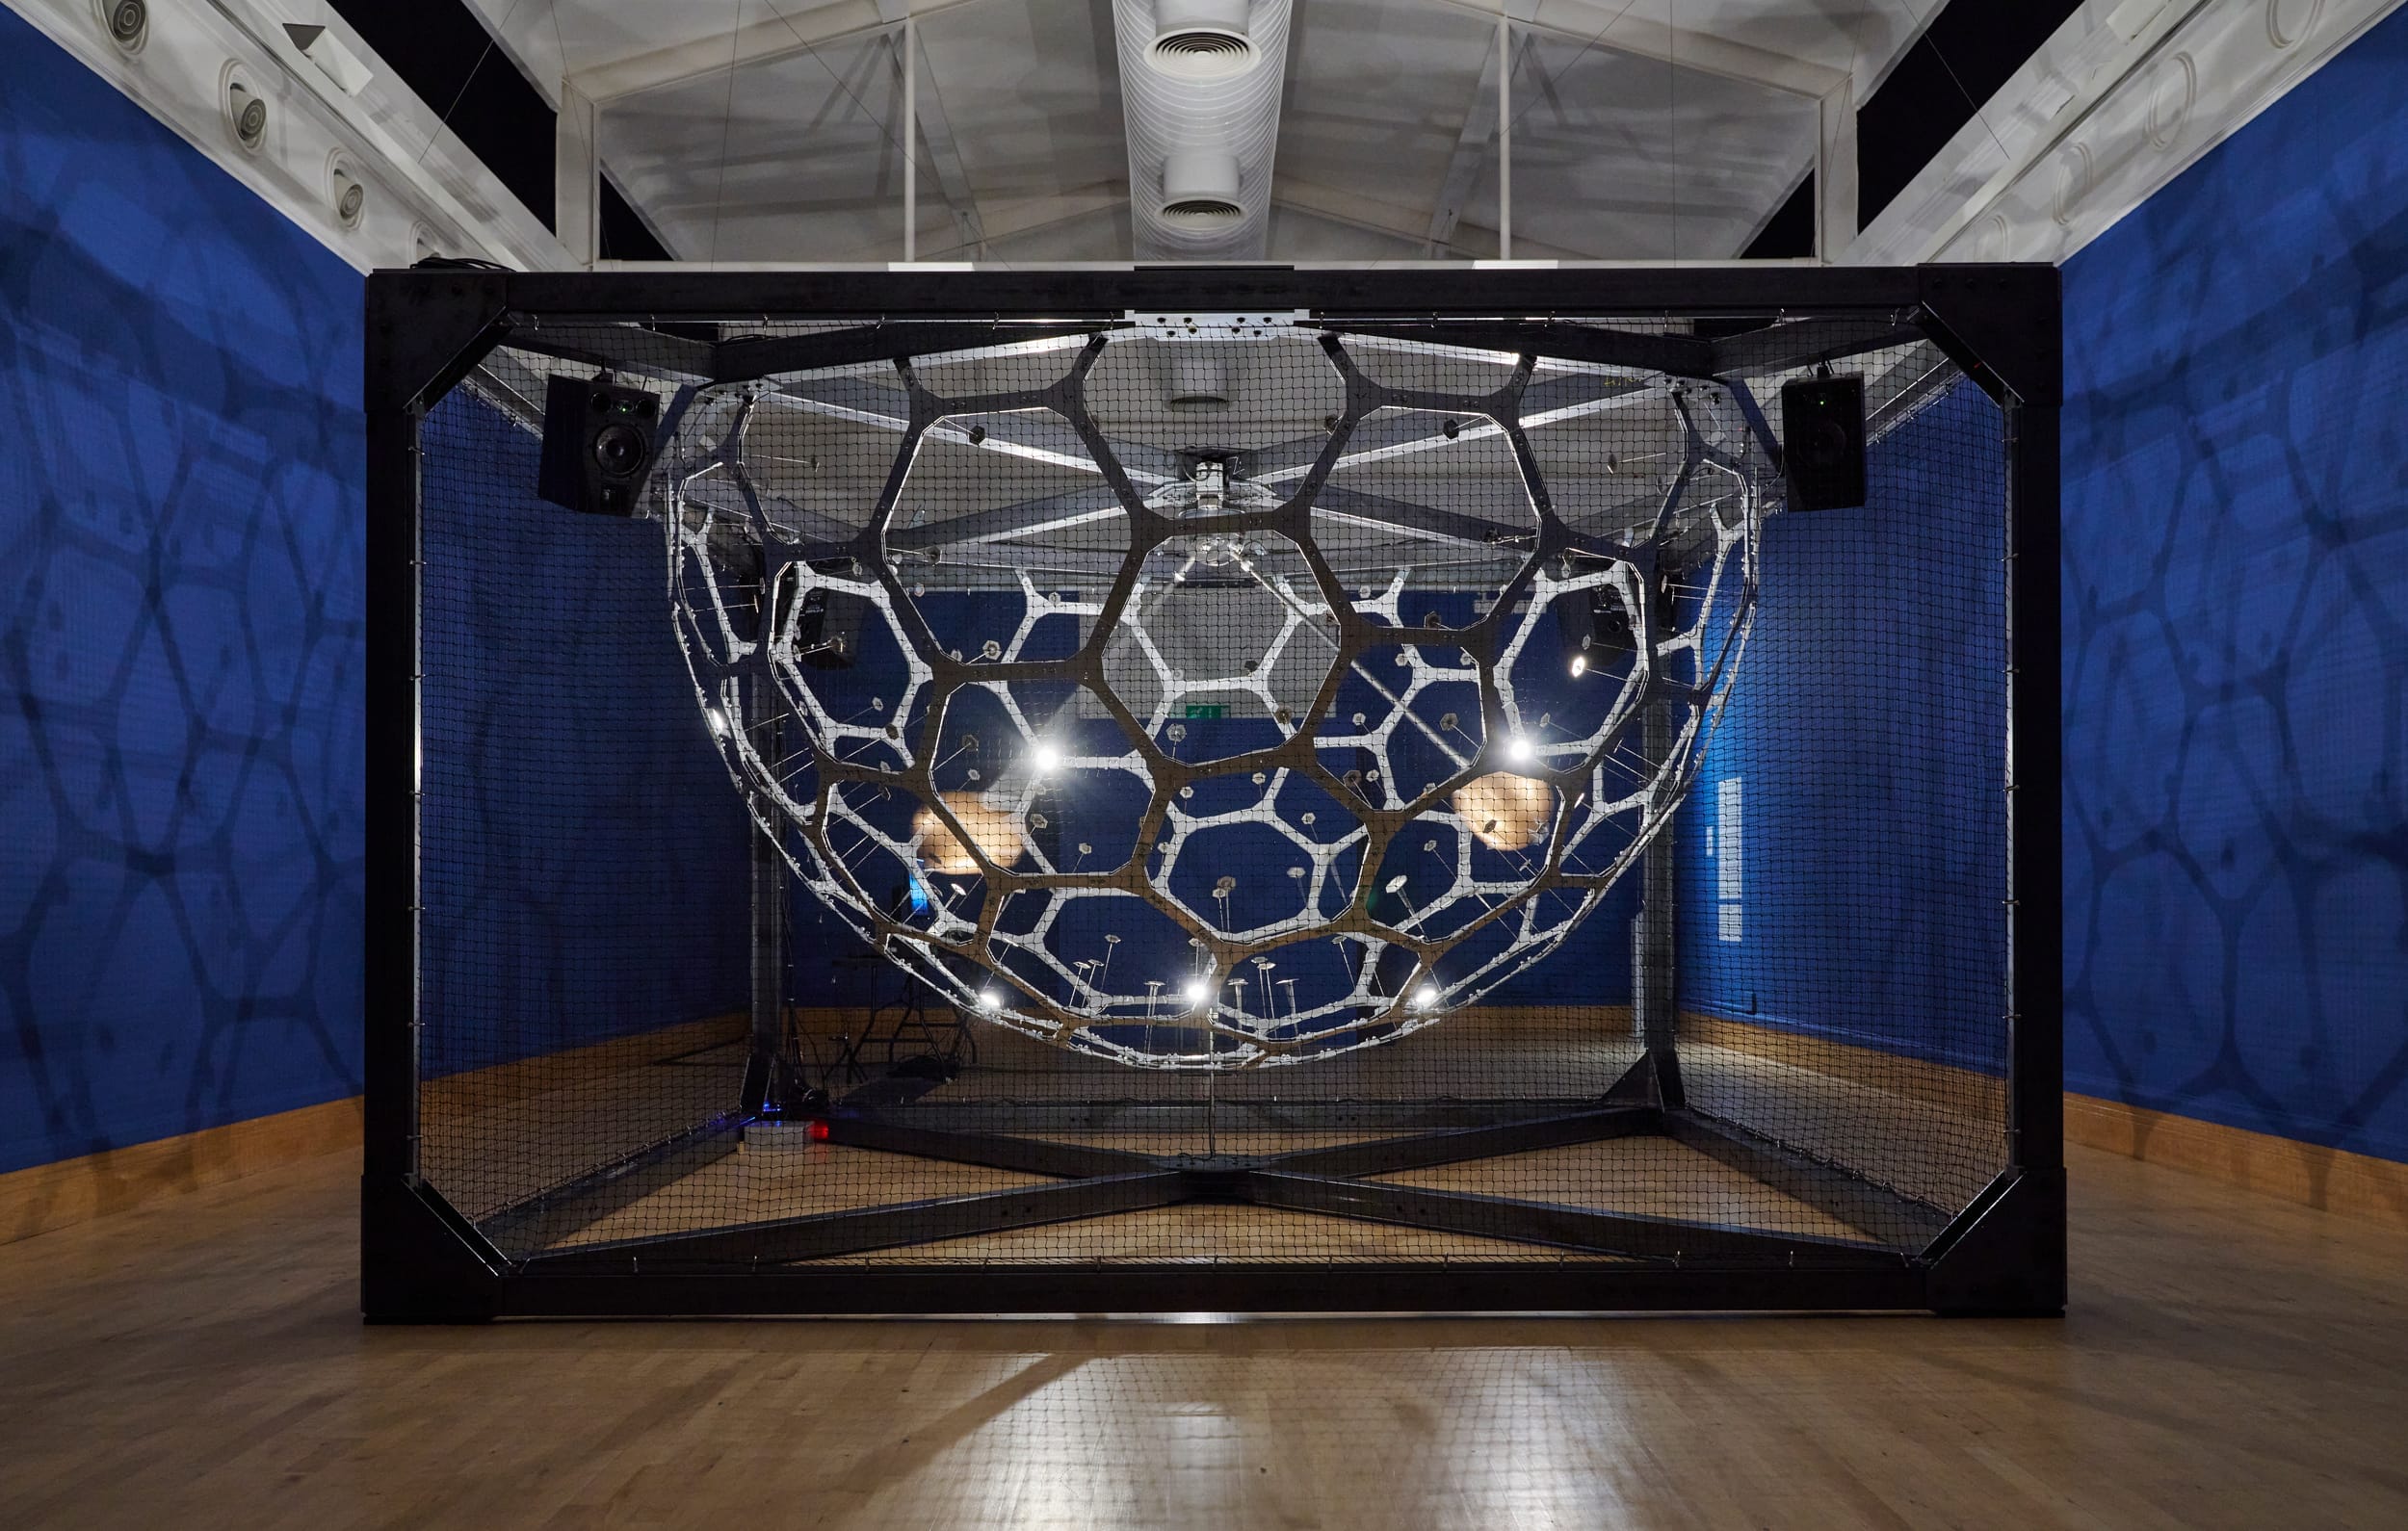


As part of the Soundscape Summer School, the participants were encouraged to experiment with sound and materials by sound scientists at the University of Nottingham. Hear from the kids in the group and learn some fun kid-friendly experiments to try at home:
Hi and welcome! A few of us have been working with scientists from the university hearing institute to see what happens when we look at sound. Over 2 days we looked at different experiments, some of the most enjoyable involved the science of sound.
Find out more about the world of sound and hearing on the University of Nottingham’s website.
Here are a few of the experiments we used that you could do when you’re at home using everyday household items to bring sound to life.
These experiments have not been specifically safety tested for home use but we believe them to be safe if the instructions are followed. Adult supervision is recommended as appropriate.
Create your own Laser Gun Sound
Create your own Laser Gun sound it’s simple and it sounds like a real sound effect from Star Wars!
Supplies needed:
- A metal slinky
- Disposable cup
What to do:
- Place the empty cup into the top of the slinky.
- Hold the cup and let the slinky drop.
- Tap the bottom of the slinky and it’ll make laser noises!
Slinkies make sound because they vibrate when they stretch out. When they vibrate, they make the air around them vibrate. Both the cup and the air inside it vibrate with the vibrations of the slinky. These build up, and the sound gets louder. This is called amplification.
Paper Cup and String Phone
We had lots of fun with this the adults in the room told us they created these when they were younger to try to communicate with each other and we tried it to see if it really worked.
Supplies needed:
- 2 paper cups
- Long string
- A sharp pencil or needle to poke holes in the cups
- Scissors
What to do:
- Start by cutting a long piece of string of at least 50 feet.
- Poke a small hole at the bottom of each cup.
- Using each end of the string, thread it through the bottoms of the cups, tying a large knot so that the string does not fall out of the cup. If you make the holes too large, use a washer or paper clip to hold the string in place so that it does not pull out of the cup.
- Move into position make sure you move away from you so that the string is far enough to make it tight. Be sure that the string does not touch any other object and that it remains suspended in air as you complete the experiment.
- Taking turns, talk into the cup, while the other person listens by putting the cup to their ear.
Sound waves created by talking through the cup travel through the line to the other end, converting back to sound on the opposite side!
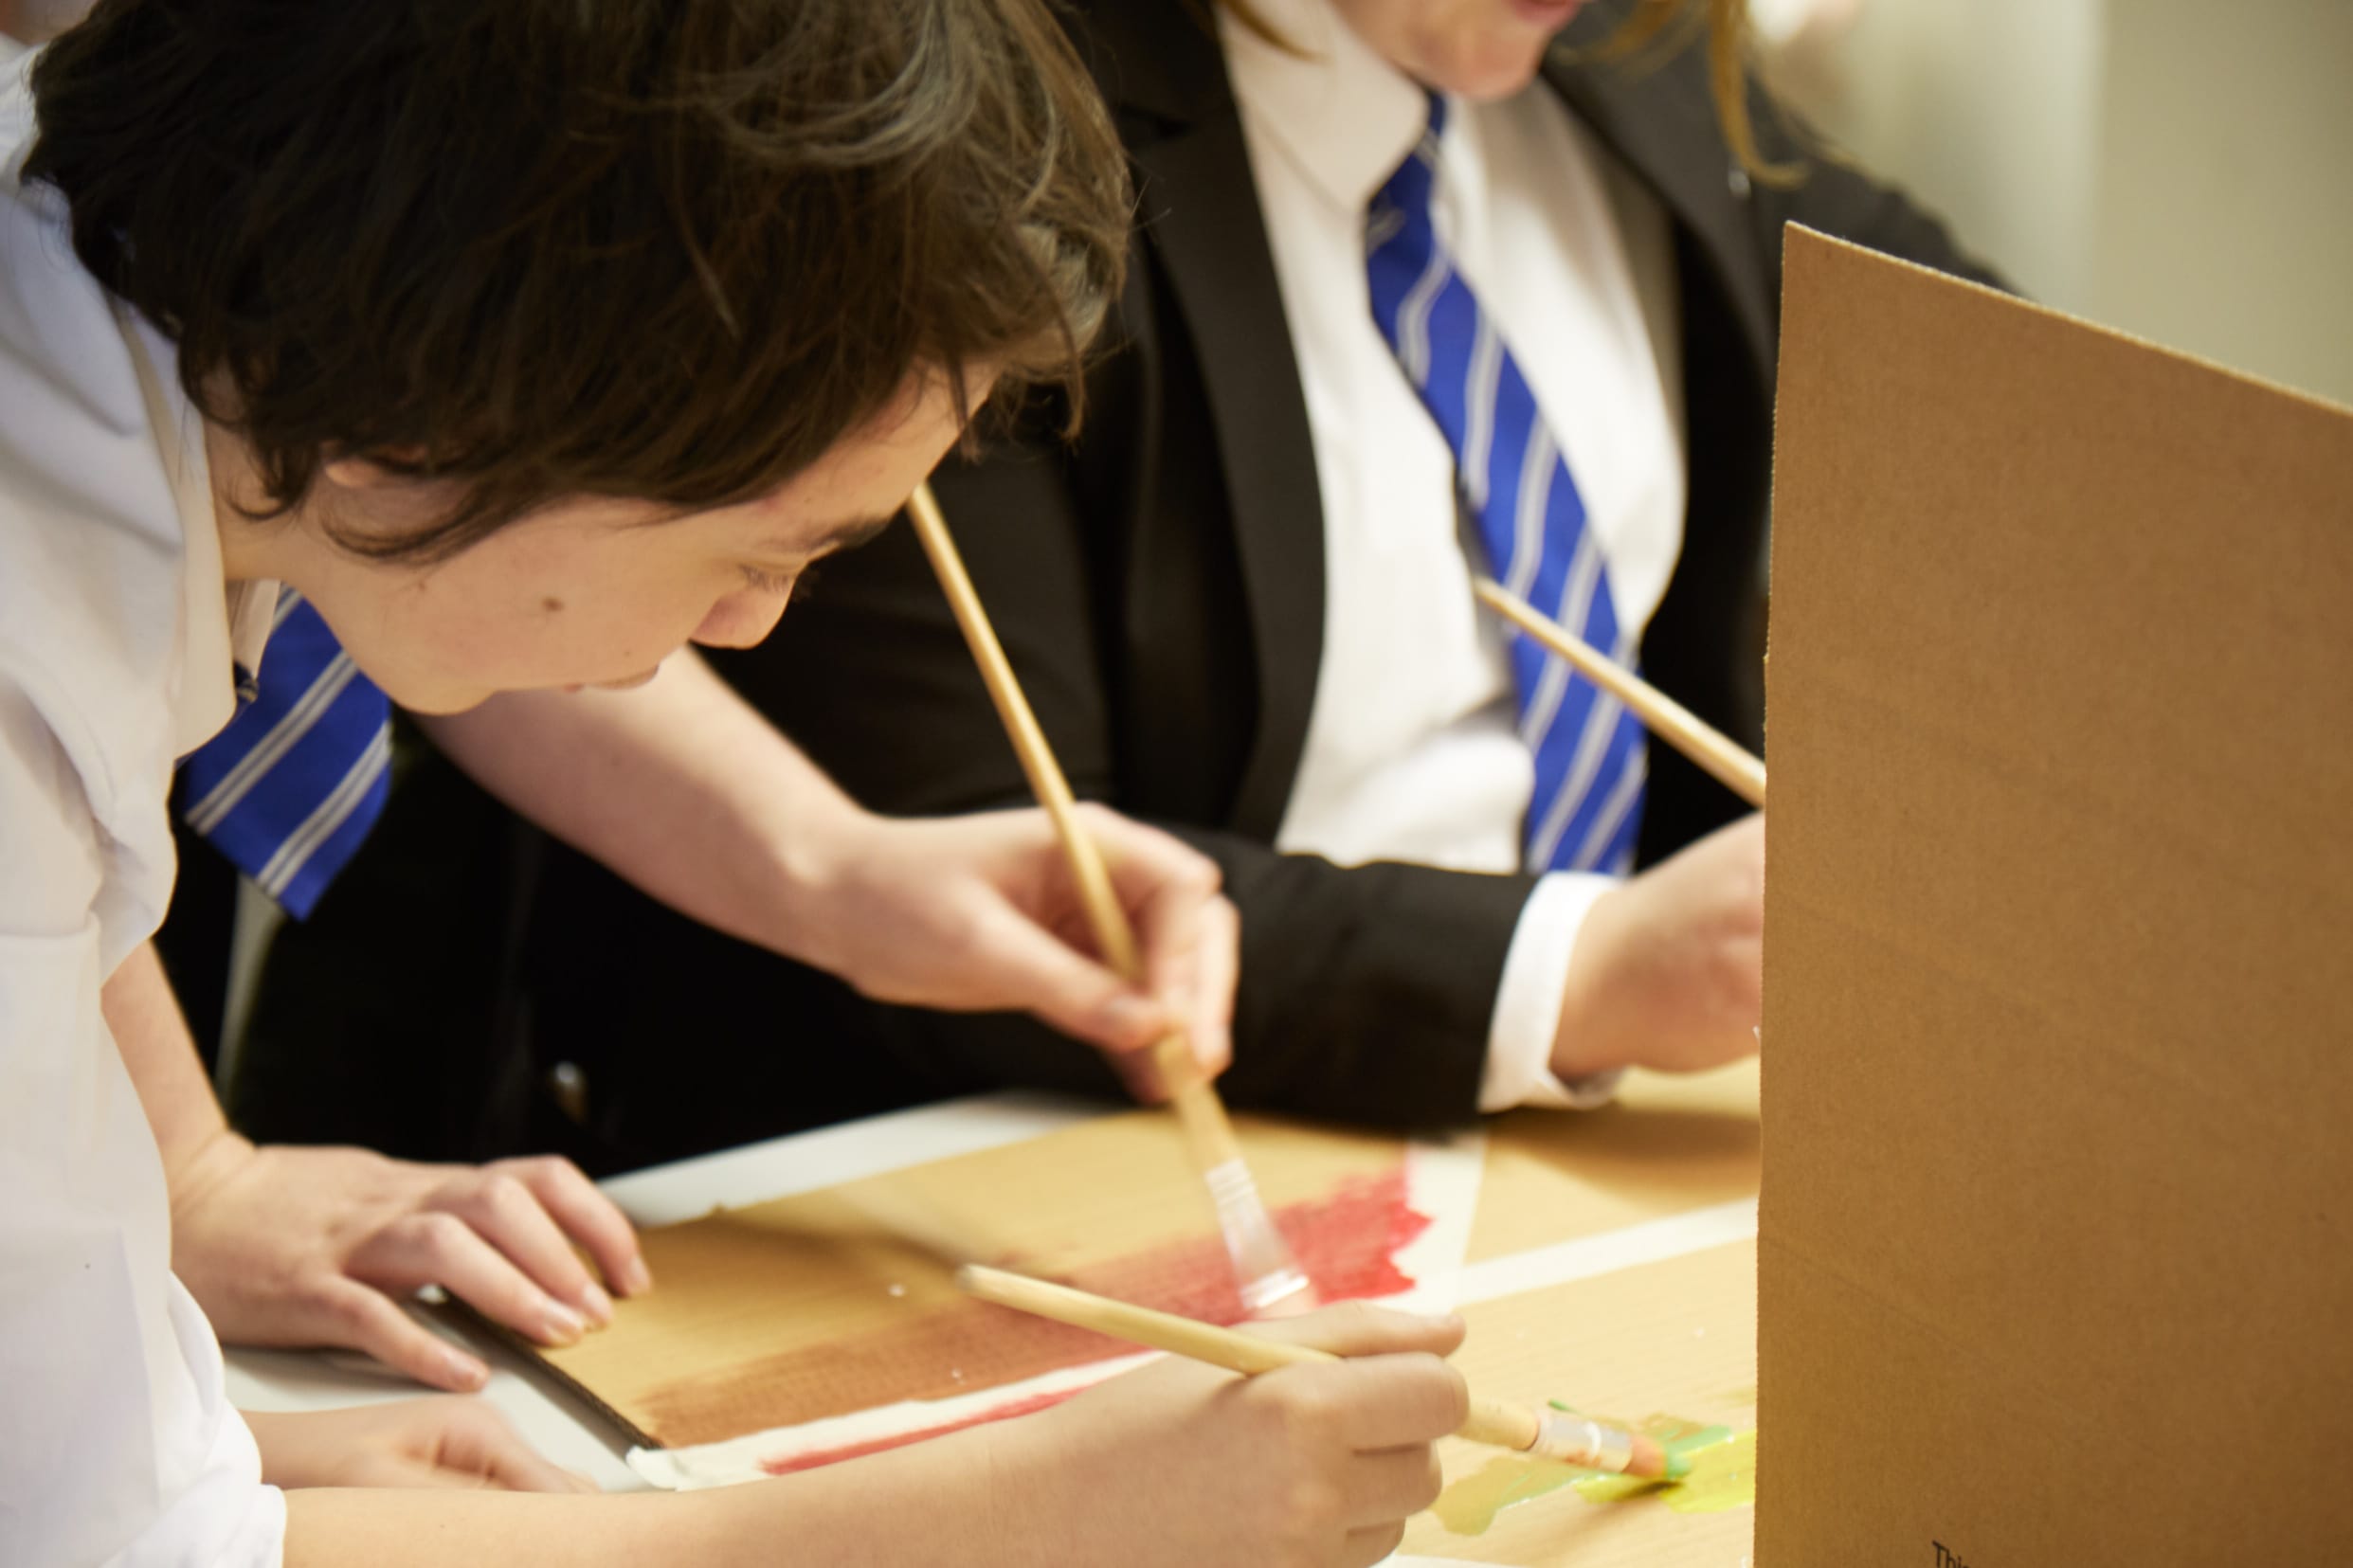
See the Sound
Sound vibrations travel through air, water, and even solid objects, but it’s not possible to see the waves. What if we could see the waves in another way? We created this sound experiment which makes sound more visible by forcing objects to react to the sound vibrations.
Supplies needed:
- Big speaker
- Plastic wrap
- Tape
- Powder Paint
What to do:
- Wrap a sheet of plastic wrap over the speaker funnel so that it’s taut, and secure with masking tape Be sure that the plastic wrap is tight and does not sag.
- Place a few of the spoons of powder Paint on the top of the plastic wrap, placing them in the middle of the wrap.
- Turn on the base in the speaker by playing music look what happens
- Experiment with louder and softer pitch and tone to see how the paint react to the sound vibrations!

Cardboard Tubes Organ
We’ll be using a number of cardboard tubes to make a pipe organ. Carpet tubes, or tubes from rolls of gift wrap work great. You can also use regular paper towel or toilet paper tubes.
Supplies Needed:
- Cardboard Tubes/Paper Towel Tube
- Scissors
- A flip flop
- Rubber bands or tape
What to do:
- Cut the tubes into various lengths, roughly 1 inch difference between the tubes.
- Arrange the tube longest to shortest from left to right.
- Make sure the tops of the tubes are level.
- Use the flip flop to strike the top of each tube.
